
How to Make a Payslip in Excel: Step-by-Step Guide (2026)
Key Takeaways
- ✓Building a compliant Excel payslip template requires distinct sections for company details, gross earnings, itemized deductions, Net Pay, and YTD totals.
- ✓Formula cells must be locked to prevent accidental formula overwrites that silently corrupt payroll calculations.
- ✓Manual Excel payslip generation takes 8–10 minutes per employee, taking over 8 administrative hours for a team of 50.
- ✓Excel lacks native automated PDF encryption and bulk email dispatching capabilities.
- ✓PayslipGen integrates with existing Excel files to automate batch PDF creation, password encryption, and email delivery in under 3 minutes.
Whether you are a small business owner processing payroll for the first time, an HR administrator managing a growing team, or a freelance accountant handling multiple clients, knowing how to create a payslip in Microsoft Excel is a foundational skill. In this comprehensive, step-by-step guide, we will walk you through the entire process of building a professional payslip from scratch in Excel—and then show you a dramatically faster alternative for when you need to generate them in bulk.
A payslip (also known as a pay stub, salary slip, or wage statement) is a document issued by an employer to an employee each pay period. It details the employee's gross earnings, itemized deductions (taxes, insurance, retirement contributions), and the resulting net pay. In many jurisdictions, providing payslips is not just good practice—it is a legal requirement. Getting them right is critical for compliance, employee trust, and audit readiness.
By the end of this guide, you will have a fully functional Excel payslip template, understand the formulas behind every calculation, and know exactly when it makes sense to graduate from manual spreadsheets to automated bulk generation.

Try Our Interactive Demo Instantly
Want to see how an offline-capable, client-side payslip generator works in practice? Try our brand-new interactive demo right in your browser. Upload a sample CSV, map your columns, and generate beautifully designed PDF payslips—with zero data ever being transmitted to our servers.
Launch Free Demo NowWhat Every Payslip Must Include
Before opening Excel, you need to understand the mandatory components of a legally compliant payslip. While specific requirements vary by country and state, the following elements are universally expected:
- Company Information: Legal business name, registered address, and company logo.
- Employee Details: Full legal name, employee ID, job title, and department.
- Pay Period: The start and end dates of the period covered by the payslip.
- Earnings Breakdown: Base salary, overtime pay, bonuses, commissions, and any other allowances—each listed as a separate line item.
- Deductions Breakdown: Income tax withholding, social security contributions, health insurance premiums, retirement fund contributions, and any voluntary deductions.
- Net Pay: The final take-home amount after all deductions have been subtracted from gross earnings.
- Year-to-Date (YTD) Totals: Cumulative earnings and deductions from the start of the fiscal year, essential for tax filing.
- Payment Method: Whether the payment was made via bank transfer, check, or cash.
Step 1: Set Up Your Excel Workbook
Open Microsoft Excel and create a new blank workbook. Before typing anything, take a moment to configure your page layout for print-readiness, since payslips are often printed or saved as PDFs:
- Go to Page Layout → Orientation → Portrait.
- Set Margins to Narrow (0.75" on all sides).
- Under Page Layout → Size, select A4 or Letter depending on your region.
Now rename the first sheet tab to Payslip_Template. This will be your master template that you duplicate for each employee or pay period.
Structuring the Header
In cells A1:F1, merge and center to create a wide header row. Type your company name in bold, 16pt font. In the row below, add your company address. If you want to include a logo, go to Insert → Pictures and position it in the top-left corner, resizing it to fit within 2-3 rows.
Below the company header, create a divider row (you can use a bottom border on the entire row), then set up the employee information block:
- Row 5:
Employee Name:|[Name]|Employee ID:|[ID] - Row 6:
Department:|[Dept]|Designation:|[Title] - Row 7:
Pay Period:|[Start – End]|Payment Date:|[Date]
Step 2: Build the Earnings Section
Starting from row 10, create a structured earnings table. Use column A for the earnings category label, column B for the amount, and optionally column C for notes or formulas:
| Earnings Component | Amount |
|---|---|
| Basic Salary | $3,500.00 |
| House Rent Allowance (HRA) | $700.00 |
| Transport Allowance | $200.00 |
| Overtime (12 hrs × $25) | $300.00 |
| Performance Bonus | $150.00 |
| Gross Earnings | $4,850.00 |
For the Overtime row, use a formula instead of a static value. If cell D15 contains overtime hours and E15 contains the hourly rate, your formula in B15 would be:
=D15*E15For the Gross Earnings total, use a simple SUM formula:
=SUM(B10:B14)Step 3: Build the Deductions Section
Immediately below the earnings table, create an identical structure for deductions. Common deduction categories include:
| Deduction Component | Amount |
|---|---|
| Federal Income Tax | $580.00 |
| State Tax | $145.00 |
| Social Security (FICA) | $300.70 |
| Health Insurance Premium | $180.00 |
| 401(k) Contribution | $175.00 |
| Total Deductions | $1,380.70 |
For tax calculations, you can use Excel's IF and VLOOKUP functions to reference a separate tax bracket table. For example, if your tax brackets are on a sheet called TaxTables:
=VLOOKUP(B16, TaxTables!A:B, 2, TRUE) * B16Formula Safety Tip
Always lock your formula cells using Format Cells → Protection → Locked, then protect the sheet via Review → Protect Sheet. This prevents accidental overwrites that silently break your payroll calculations—one of the most common Excel payroll mistakes.
Step 4: Calculate Net Pay
The most important number on any payslip is the net pay—the actual amount deposited into the employee's bank account. This is simply:
=B16-B23Where B16 is your Gross Earnings total and B23 is your Total Deductions. Format this cell with bold text, a larger font size (14pt), and a colored background (such as light green) to make it visually prominent. This is the number your employees will look at first.
Step 5: Add Year-to-Date (YTD) Tracking
For proper compliance and tax reporting, include a YTD section below the net pay. Create a small table with three columns: Category, This Period, and YTD Total. The YTD column should reference a running total from a separate tracking sheet:
=YTD_Tracker!C12 + B16This formula adds the current period's gross earnings to the cumulative total from the previous period. Replicate this pattern for YTD Taxes, YTD Deductions, and YTD Net Pay.
Step 6: Format for Professional Presentation
A payslip is a reflection of your company's professionalism. Apply the following formatting to elevate your template from a raw spreadsheet to a polished document:
- Typography: Use Calibri or Arial at 10-11pt for body text. Use 14-16pt bold for the company name and net pay.
- Borders: Apply thin borders to table cells. Use a thicker bottom border on total rows.
- Colors: Use subtle header fills (light blue for earnings, light red for deductions, green for net pay). Avoid garish colors.
- Number Formatting: Select all currency cells and apply Format → Number → Currency with 2 decimal places.
- Print Area: Select the entire payslip range and set it via Page Layout → Print Area → Set Print Area.
Step 7: Save as PDF and Distribute
Once your payslip is complete, save it as a PDF for secure distribution:
- Go to File → Save As.
- Change the file type dropdown to PDF.
- Name the file descriptively:
Payslip_JohnDoe_July2026.pdf. - Click Save.
Now repeat this process for every single employee. For a company with 10 employees, you must: open the template, change all employee-specific data, verify the formulas haven't broken, export to PDF, rename the file, open your email client, attach the correct PDF, type the email, and hit send. Ten times.
For 50 employees? 100? You can already feel the soul-crushing repetition.
The Hard Truth: Why Excel Payslips Don't Scale
The step-by-step process above works perfectly well for a sole proprietor paying one or two contractors. But the moment your team grows beyond 5-10 people, the manual Excel approach becomes an operational nightmare. Here is why:
- Time: At an average of 8-10 minutes per payslip (data entry + verification + PDF export + email), processing 50 employees takes over 8 hours of pure administrative labor every single pay period.
- Errors: Copying data between cells and sheets introduces predictable human errors—transposed digits, forgotten formula updates, and outdated tax brackets that silently corrupt your calculations.
- Security: Emailing unencrypted PDF payslips containing sensitive salary data is a significant privacy risk. Excel offers no built-in mechanism for automatic PDF password protection.
- No Delivery Tracking: When you email 50 payslips manually, you have zero visibility into which emails bounced, which were opened, and which employees never received their payslip. Learn how to solve this with our failed email tracking guide.
- Compliance Risk: Without YTD tracking automation, audit season becomes a terrifying scramble. See our guide on archiving payslips for audit readiness.
The Faster Alternative: Automate Everything After the Spreadsheet
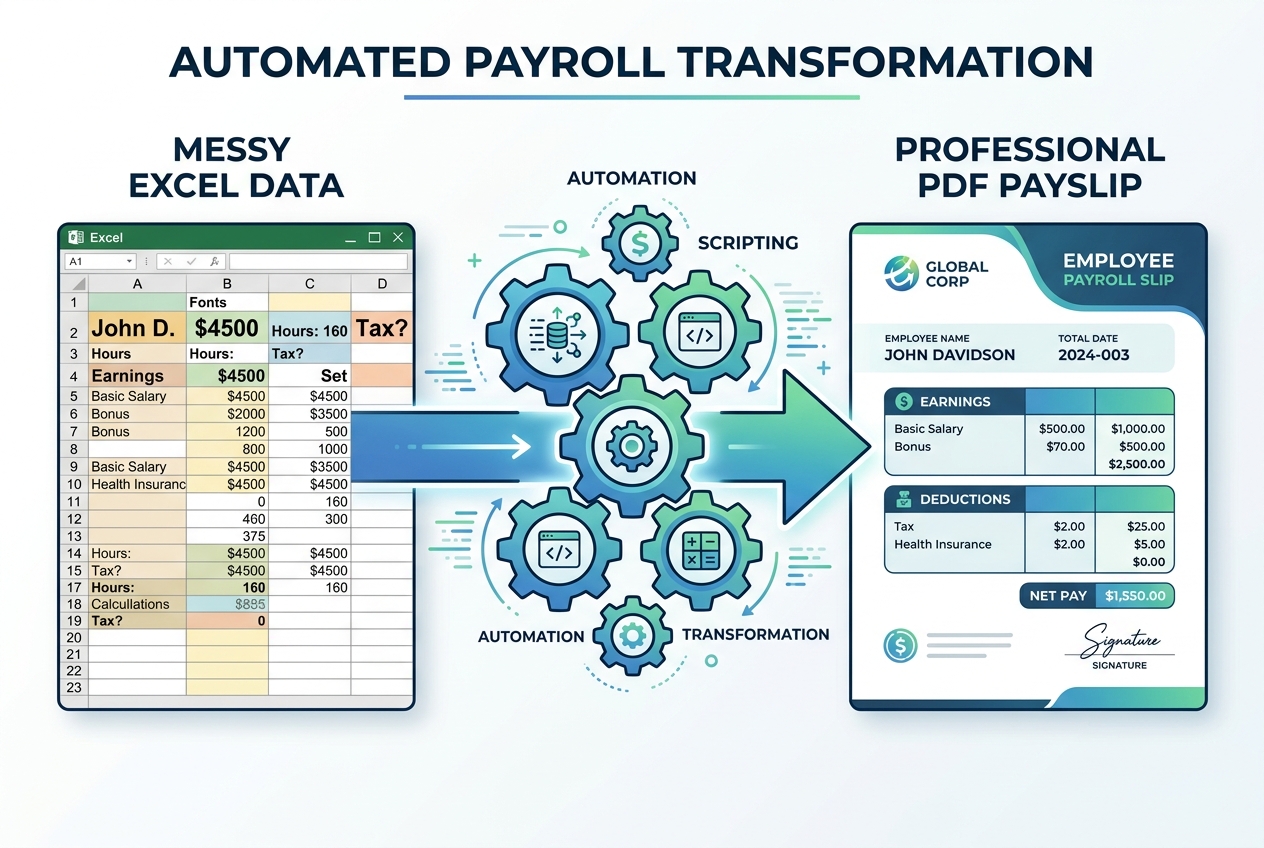
Here is the key insight most business owners miss: you do not have to abandon Excel entirely. Your spreadsheet is already a perfectly good data source. What you need to eliminate is everything that happens after the data is ready—the manual PDF generation, the one-by-one emailing, and the lack of password protection.
This is exactly what PayslipGen was built to solve. It takes your existing Excel or CSV file as input—the same file you are already maintaining—and instantly:
- Maps your columns automatically to payslip fields (name, salary, tax, net pay).
- Generates professional PDF payslips for every employee simultaneously in seconds.
- Password-protects each PDF with a unique key (e.g., employee ID or birthdate).
- Bulk emails every payslip to the correct employee with delivery tracking and retry capability.
The entire process—from uploading your Excel file to having every employee receive their encrypted payslip—takes under 3 minutes. No monthly subscriptions. No cloud data uploads. Everything runs locally on your own computer for maximum data privacy and security.
If you are currently spending hours manually creating payslips in Excel, you can explore how this works on our CSV-to-PDF generator page, or see the full feature set on the Modern Payslip Generator landing page.
Keep Your Excel. Automate the Rest.
Upload your existing spreadsheet and generate hundreds of professional, password-protected PDF payslips in seconds. One-time payment, no subscriptions, fully offline.
Get PayslipGen — One-Time PurchaseConclusion
Creating a payslip in Excel is absolutely doable—and for very small teams, it is a perfectly reasonable approach. The steps we covered give you a rock-solid template with proper earnings breakdowns, deduction calculations, net pay formulas, and YTD tracking.
But be honest with yourself about when the manual approach stops serving you. The moment you catch yourself spending an entire afternoon copying data between cells, exporting PDFs one by one, and attaching them to individual emails, you have crossed the threshold where automation is not a luxury—it is a necessity.
Your spreadsheet skills got you here. Let automation take you further.
Explore more payroll guides: Creating Professional Payslips from Excel Data | Converting CSV to Payslips | Small Business Payslip Automation